RV Water Damage and Delamination: What to Check
Learn where water gets into a used RV, how to spot delamination, soft floors and roof leak signs, and when camper water damage means walk away.
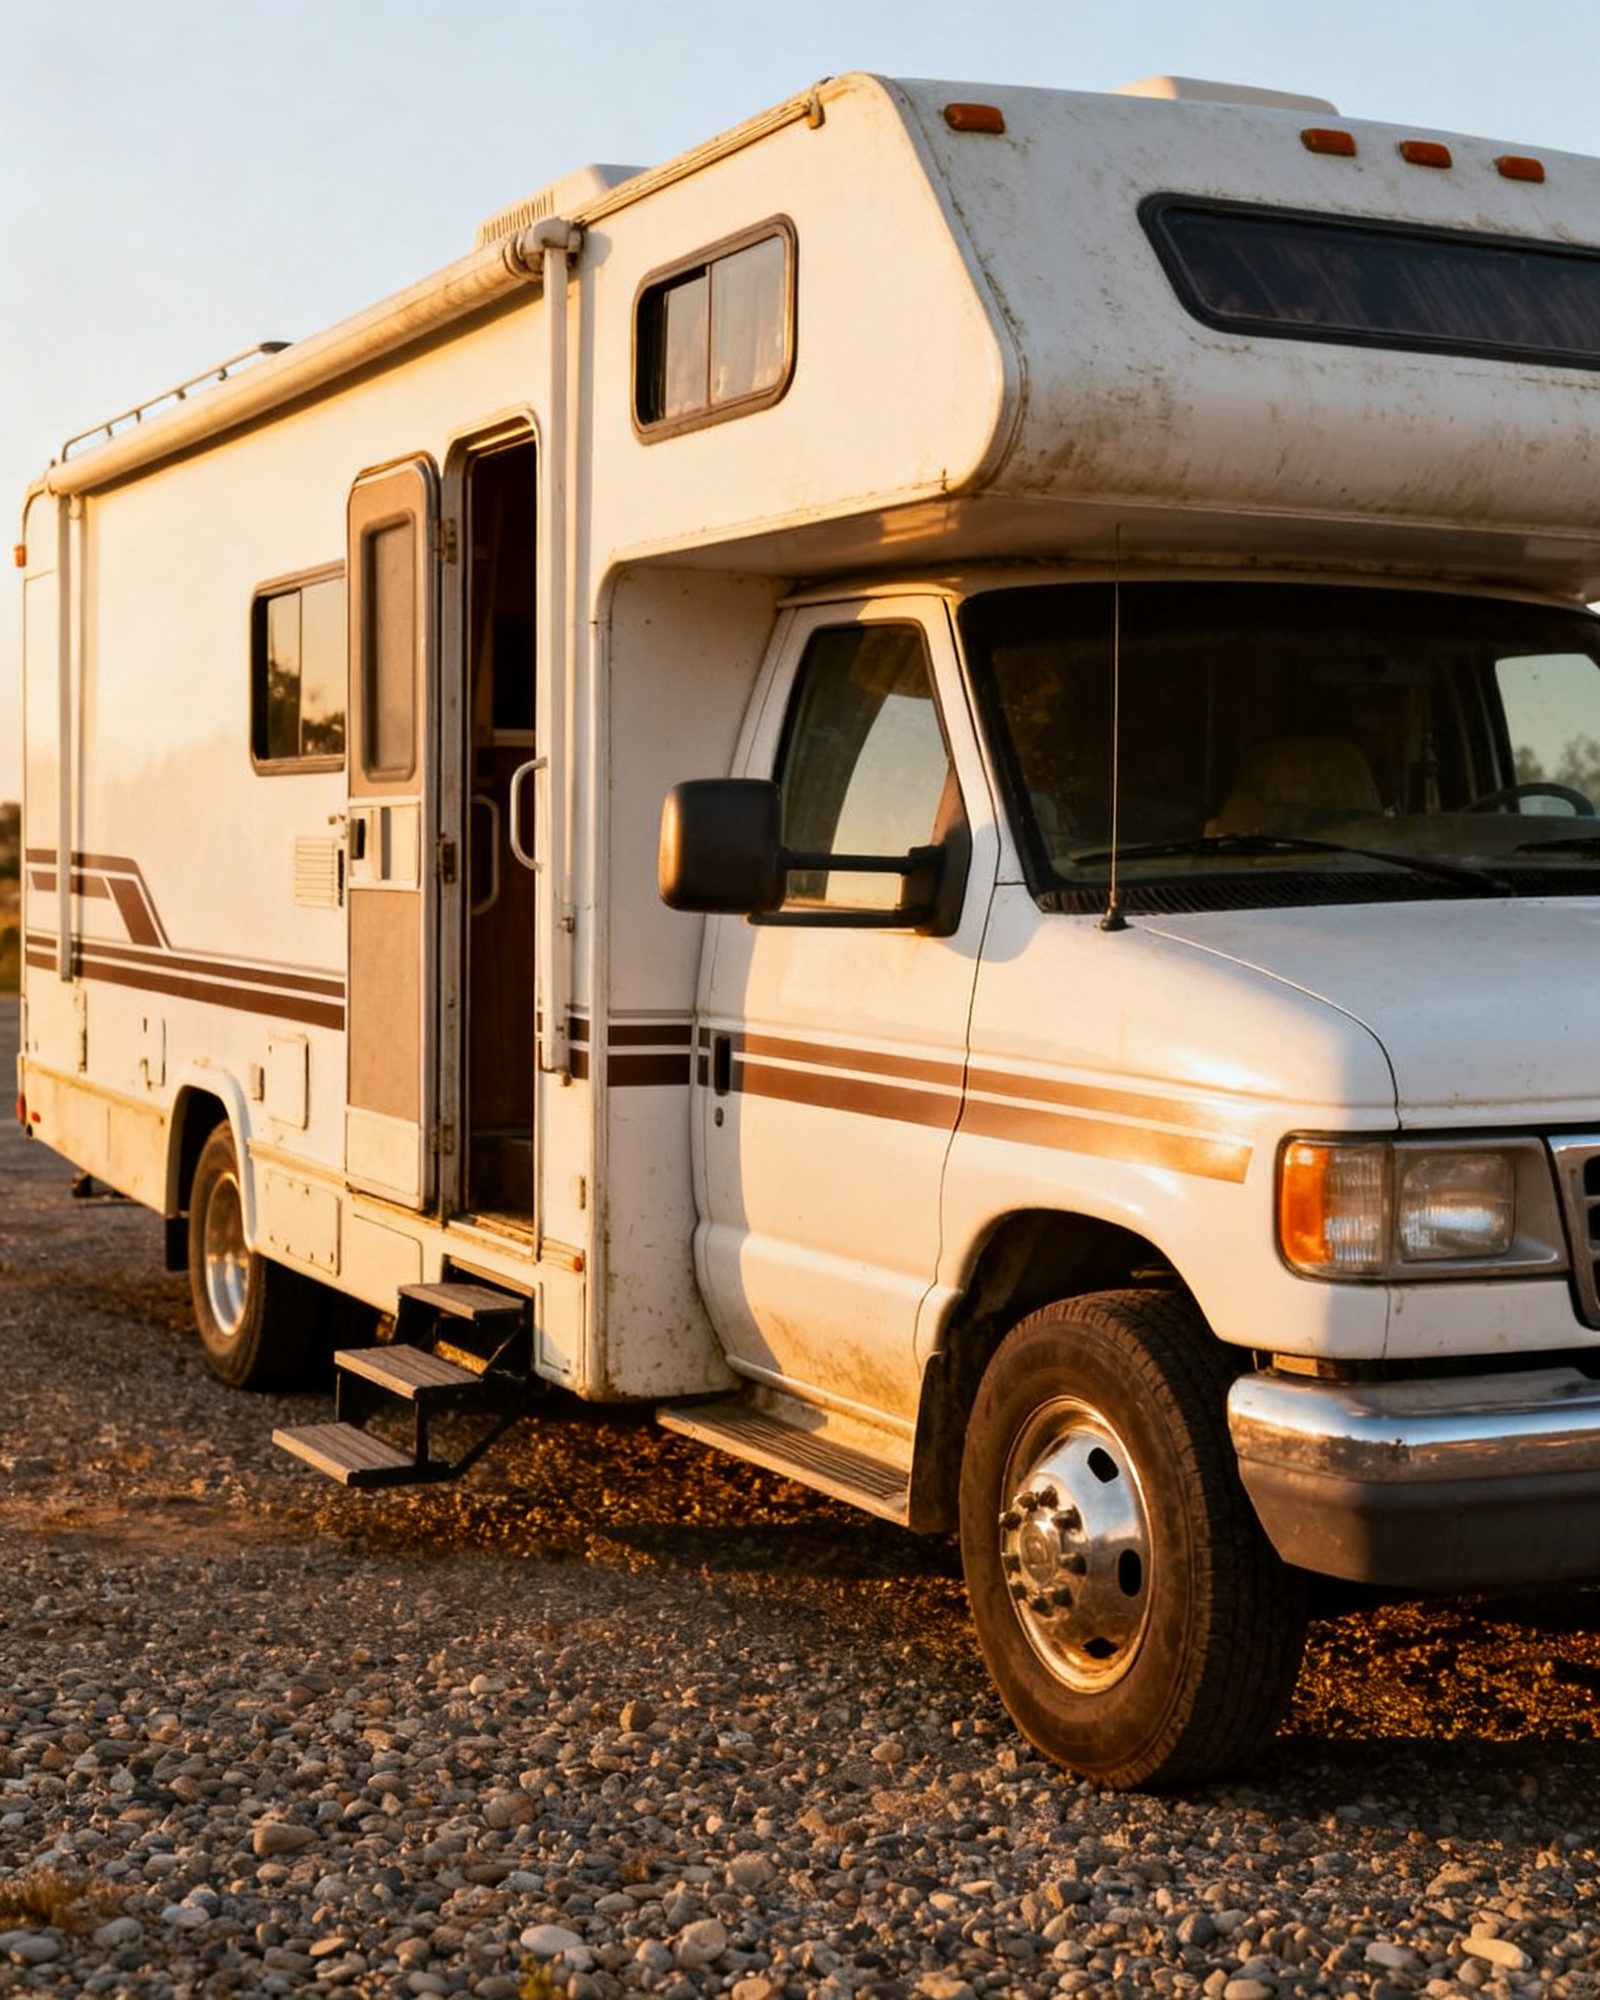
Water damage is among the most common and most expensive defects in used RVs, and it is the reason many buyers walk away from an otherwise good-looking camper. The damage itself is rarely the whole story: a small stain on a ceiling panel can mean a roof seam has been leaking into the framing for years, and the repair bill can exceed what the RV is worth. Before you fall for a floor plan, learn where water gets in, what the signs look like, and how to check for moisture you cannot see.
Where water gets into a used RV
Water almost always enters at a seam, a penetration or a seal, not through the middle of a panel. The usual entry points:
- Roof seams and edges. Sealant along the perimeter, around vents, skylights, antennas and air conditioners dries out and cracks with age. Once it opens, water runs along the framing.
- Roof vents and hatches. The lid gasket and the mounting flange both fail over time.
- Windows. The butyl tape or sealant behind the frame shrinks, and water tracks down inside the wall.
- The cabover. On a Class C, the bed over the cab takes the full force of weather and is a common leak point at its front seam and side windows.
- Slide-outs. Each slide-out has rubber seals and a mechanism; a torn or flattened seal lets water in along the slide floor and walls.
- Corners and clearance lights. Front and rear corner trim and the small marker lights are frequent culprits.
- Storage compartments and the entry door. Failed seals around compartment doors let water into the floor structure.
Roof and seam sealants dry out and crack with age and must be inspected and renewed. That is routine maintenance, not a defect in itself - but a seller who has not kept up with it has likely let water in somewhere.
The signs: what RV water damage looks like
RV roof leak signs
Look up. Stains on the ceiling, a sagging ceiling panel, bubbling paint or wallpaper, and dark rings around vents are all roof leak signs. On the roof itself, check for cracked or missing sealant, tears in the membrane, soft spots underfoot and ponding water. A roof can be walked on only where its maker says so; if the seller cannot confirm that, look from a ladder and leave the roof walk to an inspector.
RV delamination
Delamination is the outer fiberglass skin separating from the wall behind it - bubbles, waves or ripples in the sidewall - and is usually a sign that water has got in. Run your hand flat along each sidewall and press gently. A healthy wall is flat and firm; a delaminated one feels soft, sounds hollow when tapped, and shows a wavy outline in raking light. Delamination rarely stops where you can see it. The water that caused it has been traveling inside the wall.
A soft floor in an RV
A soft floor in an RV is often the first thing a buyer notices underfoot. Walk the entire floor slowly, including the corners, the area in front of the entry door, around the toilet and shower, and the slide-out floor. Any give, sponginess or crunch is a red flag. Pay attention to the floor near the water heater, the fresh water tank and the pump - a slow plumbing leak can rot a floor from above and below.
Camper water damage you can smell
A musty, damp or mildew smell is camper water damage you can detect before you see anything. Open every cabinet, closet and storage bay and smell inside. Check behind drawers and under the bed. A seller who has masked the smell with air freshener or a plug-in is hiding something.
Other clues
- Rusty screws, staples or hinges inside cabinets.
- Water stains on the underside of the mattress or the bed platform.
- Loose or wrinkled wallpaper and trim that has pulled away.
- Swollen or delaminating cabinet bottoms under sinks.
- Ice-maker lines, washing machine hookups and outside showers that show corrosion.
Using a moisture meter
A moisture meter on interior walls finds damp that cannot be seen. Pinless meters read through the surface; pin-type meters leave small holes, so ask the seller first. Take readings on the wall panels, cabinet backs and ceiling in a grid pattern. Compare readings in suspect areas with readings in known-dry areas of the same RV. High readings near a window, roof vent or slide-out seal mean water is present even if the surface looks fine. Check around the cabover, the corners, under windows and along the floor line. A meter will not tell you how much damage there is, but it will tell you where to look harder.
Why hidden damage costs more than it looks
A stained ceiling panel is the visible part. The water that made the stain has been running along framing, soaking insulation and pooling on the floor structure. By the time the stain shows, the damage often includes:
- Rotted wood framing and floor joists.
- Delaminated sidewalls that cannot be repaired cosmetically.
- Mold inside wall cavities and ductwork.
- Corroded wiring and connectors.
- A failed roof deck under the membrane.
Repairs mean removing interior panels, cabinets and sometimes the entire sidewall. That is skilled labor, and it is why a small leak can turn into a major repair. If the damage reaches the 120-volt wiring, the converter or any propane appliance, the repair is a job for a qualified RV technician - not a DIY project and not something to negotiate down and fix yourself.
What to check, step by step
| Area | What to check | What it means |
|---|---|---|
| Roof | Sealant at seams, vents, skylights, AC; membrane tears; soft spots | Cracked sealant is a leak waiting to happen |
| Sidewalls | Bubbles, waves, hollow sound when tapped | Delamination - water inside the wall |
| Ceiling | Stains, sagging, bubbling paint | Roof leak, possibly long-standing |
| Floor | Soft spots, crunch, give near door, bath, kitchen | Rotted floor structure |
| Cabover | Front seam, side windows, mattress underside | Common Class C leak point |
| Slide-outs | Seal condition, floor edge, interior trim | Water tracking in along the slide |
| Windows and doors | Sealant, trim, interior stains | Failed seal behind frame |
| Cabinets and storage | Musty smell, rust, swollen bottoms | Damp inside the coach |
| Moisture meter | Grid readings on walls, ceiling, cabinets | Hidden damp behind panels |
Use a structured used RV inspection checklist so you check the same points on every RV you look at. If you are shopping motorhomes specifically, the same water-damage checks apply to used motorhomes for sale, plus the chassis and drivetrain items.
When to walk away
Walk away when:
- Delamination covers more than a small area, or appears on more than one side.
- The floor is soft anywhere structural - around the entry, the bath or the slide.
- The ceiling sags or shows multiple stains.
- The smell of damp or mold is strong inside cabinets.
- A moisture meter reads high across a wide area.
- The seller cannot explain a recent repair or has painted over stains.
- The price is far below comparable RVs - a pattern the FTC and FBI warn about in vehicle-sale scams.
A single small stain with a documented, recent repair may be negotiable. Widespread damage is not a bargaining chip; it is a reason to keep looking. There is no general right to cancel a signed vehicle purchase afterwards, and a private sale is usually as-is, so the inspection is your main protection.
Getting a professional opinion
An independent RV inspector, chosen and paid by the buyer, examines an RV before purchase; a lab analysis of engine oil, coolant and transmission fluid can be added on a motorhome. An inspector will use a moisture meter, get on the roof where it is safe, and check areas you cannot easily reach. On a motorhome, ask whether the inspection covers the chassis and the living-area seams. On any RV, ask for photos of every moisture reading and a written summary of what is wet and what is not.
After you buy: keeping water out
Water damage is preventable with routine care. Inspect roof and seam sealant at least twice a year and renew it before it cracks. Keep slide-out seals clean and conditioned. Check window and corner sealant annually. Fix plumbing drips immediately. A seasonal RV maintenance schedule makes these checks routine rather than reactive. Store the RV with the roof slightly pitched so water runs off, and check inside after every heavy rain.
Any work on propane lines, 120-volt or 240-volt wiring, the converter, inverter or generator is a job for a qualified RV technician. If water damage reaches those systems, have them inspected and repaired by a qualified technician before you use the RV.
Common questions
How can I tell if a used RV has water damage?
Look for stains on the ceiling, bubbles or waves in the sidewalls (delamination), soft spots in the floor, a sagging ceiling and a musty smell inside cabinets. Run a moisture meter along walls, ceilings and cabinet backs. Any high reading near a window, vent or slide-out seal means water is present even if the surface looks dry.
What does RV delamination look like?
Delamination is the outer fiberglass skin separating from the wall behind it. It shows as bubbles, waves or ripples in the sidewall, and the wall feels soft or sounds hollow when tapped. It is usually a sign that water has got in, and it rarely stops where you can see it.
Is a soft floor in an RV always water damage?
Not always, but it is the most common cause. A soft floor near the entry, bath, kitchen or slide-out usually means water has been leaking from plumbing, a window or a roof seam and has rotted the floor structure. Treat any soft spot as a reason to inspect further or walk away.
Can I fix RV water damage myself?
Cosmetic sealant renewal and minor trim repairs are within reach for many owners. Structural repairs, mold remediation, and any work on propane, 120-volt or 240-volt electrical systems, the converter, inverter or generator are a job for a qualified RV technician.
Should I walk away from an RV with a small water stain?
A single small stain with a documented, recent repair may be negotiable after an independent inspection. Widespread delamination, soft floors, a sagging ceiling or a strong damp smell are reasons to walk away. A private sale is usually as-is, so the inspection is your main protection.
Read next
RV Dealer vs Private Seller: Where to Buy a Used RV
Compare buying a used RV from a dealer or a private seller: price room, inspection access, warranty, financing, fees, paperwork and risk, plus what to check.
Repo RVs for Sale: How Bank Repos and Auctions Work
How repossessed RVs reach the market, what as-is really means, and how to inspect, bid and check the title before you commit to a repo RV.
Used RV Scams: Fake Listings, Escrow Tricks and Safe Payment
Learn the common used RV scams, from fake listings and escrow tricks to wire-transfer demands, plus how to check a seller and pay safely in person.